3 Easy Photoshop Tips to Make Stock Wallpapers Look Better

Photographs tell a story. And, for photography lovers nothing matters more than a great picture to share on social networking websites. On the commercial side, people use various Indian social networking websites to even earn money by selling royalty free stock photos.
Having knowledge of clicking pictures is not enough. You need some basic editing skills also to ensure that your stock wallpapers draw interest from users.
The following tutorial contains 3 Easy Photoshop Tips to make your stock wallpapers look better.
Blur/Overlay
Use the shortcut (ctrl+j) Then duplicate your photo layer. Do this by dragging the layer to the ‘new’ icon in the layer’s palette
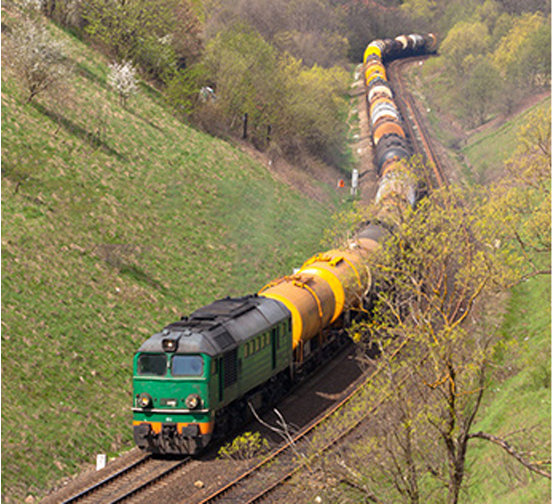
Go to Filter > Blur > Gaussian Blur) Use ‘Gaussaian blur
Then apply the Gaussian blur. Blur it in the manner that the detail diminishes but the shapes should remain
Change the blending mode from ‘Normal’ to ‘Overlay’
This method turns the light tones lighter and dark tones darker. It also softens the whole picture while softly boosting the contrast.
Extra Tip: Experiment with the blending modes. Use ‘Vivid light’ instead of ‘Overlay’ for a more dramatic effect
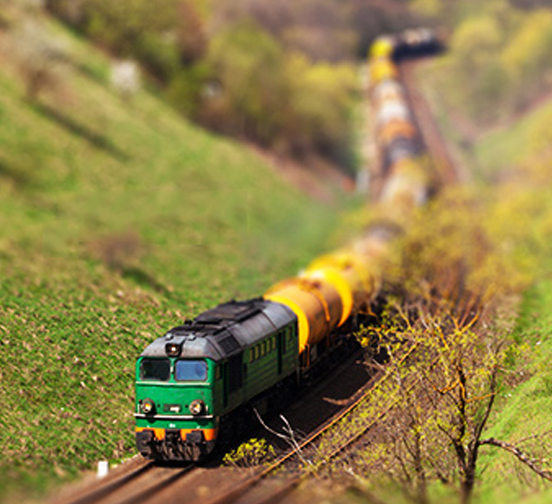
Background Filter
Begin by duplicating the layer. Then use the ‘Lasso’ tool to select the subject in your image
Go to Select>Feather. Then feather the selection by using (ctrl+alt+d)
The size of the feather will depend on your images for wallpaper. Say you use 50 pixels.
Go to Layer > New > Layer via copy. You will then end up with your subject on a new layer with nice fades at the edge,
Extra Tip:
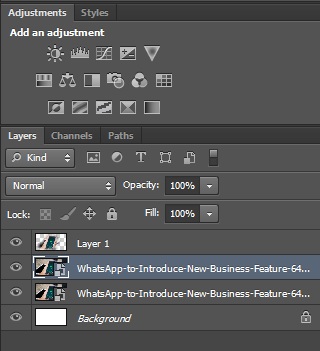
Try out other filter. For e.g., use Filter > Brush Strokes > Dark Stroke. Most of the Brush Stroke filters work well with this effect. Using blurs tends to look a little funny. You layer palette will look something like this:

You can also experiment with the opacity of the effect later. For more advanced editing of your royalty free stock photos, try this. Duplicate the layer, mask it out, and then use a large soft white brush to paint the subject back in.
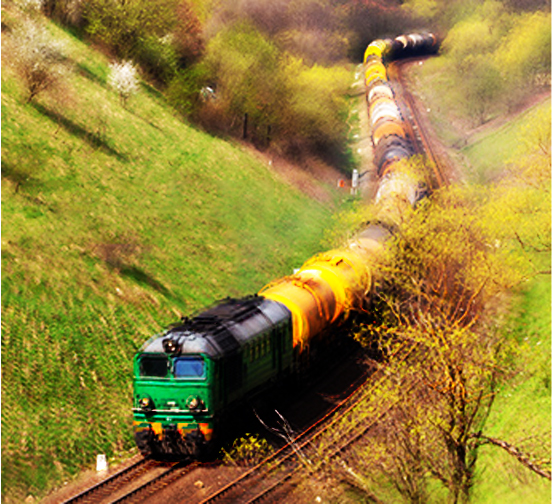
Neon Glow:
This is a very easy Photoshop tip. Neon Glow can add a little color and drama to your images for wallpaper
After duplicating your layer, use Filter > Artistic > Neon Glow.
Select a color that suits your image.
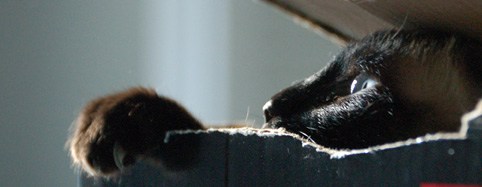
In the subject here, yellow color has been used to exaggerate. Starting from glow size of 4, and glow brightness of 18, you can try various settings:

Extra Tip:
If you feel like having more fun, then change the blending mode to ‘Overlay.’
Also cycle through those modes: soft light, hard light, vivid light, and linear light.

These Photoshop tips can be useful for beginners and advanced level of editors who wish to sell their stock wallpapers on social networking websites. Begin by applying simple tools and gradually edit according to the image’s composition for best results.


Comments
Post a Comment